Astrophotos using Barn Door Tracker (2nd Version)
Introduction
Sometime after I have completed the 2nd version modifications of my barn door tracker, I finally got out to give it a test. My main subjects were still constellations with 1 series of moon shots. Each shot required minutes of long exposure, so I was not able to complete the whole roll in a single night and had to do it in 2 separate nights. In between the 2 nights was a very long break, close to a month's time. Guess I was too lazy to finish the roll.
For each object, I had bracketed the shots at different exposure lengths to increase the chances of getting at least one or two good shots in the series. The shots shown here are in the exact chronological order as I have taken them. Sometimes the exposure times might not increase in the correct order due to accidental premature release of the shutter.
After finally finishing roll, I sent it to the photo lab for development directly into digital format. It is much cheaper and more convenient for me that way. The lab scanned the negatives in high resolution with each JPEG file taking up roughly 5MB of disk space. The images shown here are in their original raw versions without any proper post processing using Photoshop.
First, some overall information for the first night.
Date: 14th July 2005
Location: A large open space besides a neighbourhood park, away from flats. However, there were plenty of streetlights nearby which were the biggest potential sources of light pollution.
Camera: Yashica FX-3 Super Manual SLR
Lenses: Yashica 50mm manual focus prime lens F1.9 and Makinon 500mm F8 manual focus mirror lens.
Exposure: All exposures are taken in bulb mode.
Tracking: Manual Barn Door Tracker with version 2 polar alignment system.
Weather: Clear skies with some clouds. It was raining just that afternoon which helped to clear the skies quite a bit.
Other accessories: Cable Release. Tripod. Binoculars. My handy pocket astronomy guidebook with a mini starchart. High-end compass for polar alignment. Screwdriver (in case I need to tighten some screws on the tracker). The only thing I forgot was a torchlight for illumination.
Gibbous Moon
There happened to be a gibbous moon in the sky that night. A perfect chance for me to give a try on shooting the moon. I have seen lots of beautiful moon photos with well-defined craters. I would love to capture that myself. A gibbous moon was also good since it did not produce too much light pollution as compared to a full moon. It was also good since the moonlight provided some illumination for me, my tracker and my watch. That would compensate for the missing torchlight!
Since the exposure lengths were pretty short, I did not use any tracking for the moon shots. I simply took stationary shots of the moon.
Starting time for 1st shot in the series: 10:32pm
Lens: 500mm mirror lens
Aperture: F8
Exposure: 10s
Exposure: 20s
Exposure: 5s
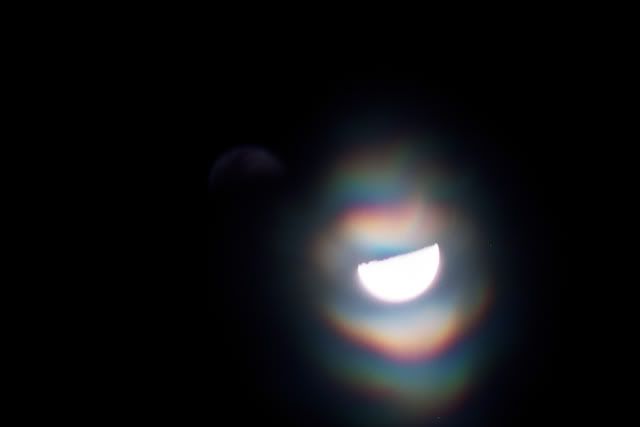
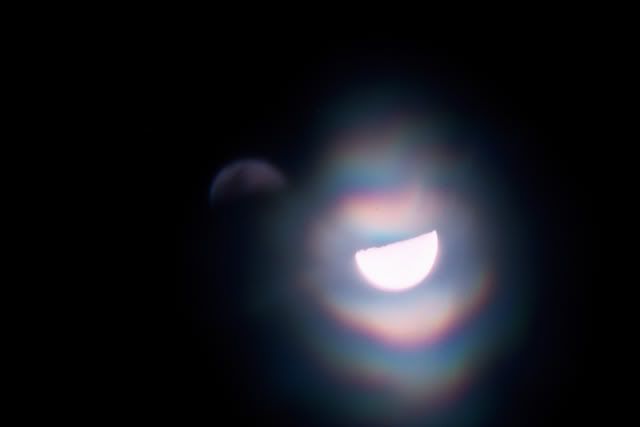
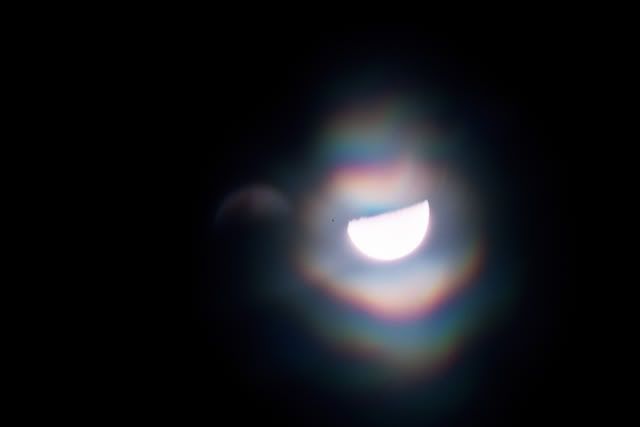
As you can see, on the whole, the moon in all 3 shots were terribly overexposed. It is most probably because I had forgotten that I was using a fast film (ISO 400), combined with a super long focal length of 500mm. I should have shortened the exposure lengths much further, probably to fractions of a second. Looks like I still have a lot to learn about taking moon shots.
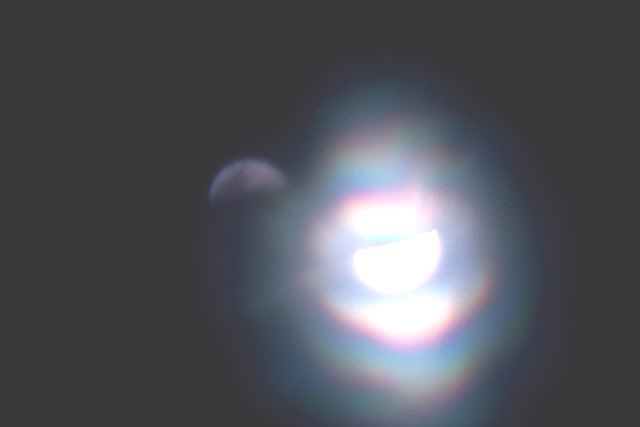
If you strain your eyes a bit, you would have noticed some patches of light diagonally above the bright moon. I did some post-processing using Photoshop by turning up the brightness and found the cause of the weird "phenomenon". Below is how the processed image looked like. It turns out that the patches were actually ghost images of the moon. It is actually a type of optical effect which happens when you position a bright object, like the moon, just off the centre of the picture. Due to internal reflections of the light rays within the lense or camera, a "ghost" image of the bright object will be seen diagonally across the centre at the same distance from it. So, to prevent such effects, probably I should have placed the moon directly in the centre.
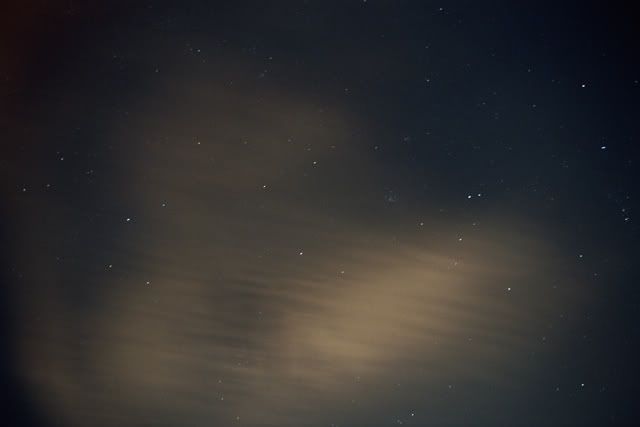
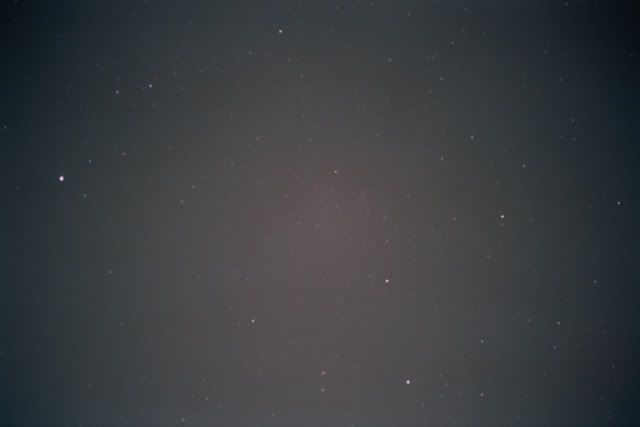
Sagittarius (The Archerer) and partly Scorpio (The Scorpion)
Starting time for 1st shot in the series: 10:52pm
Lens: 50mm standard lens
Aperture: F2.8
Exposure: 30s
I actually wanted to take a 1 or 2 minute shot using the tracker but I accidentally released the cable release. Anyway, may as well, since there was a passing cloud which spoilt the shot.
Exposure: 2 min

Sagittarius (The Archerer)
Exposure: 4 min
Exposure: 3min 45s
Again, premature stopping due to accidental release of shutter.
Exposure: 8 min
Scorpio (The Scorpion)
Starting time for 1st shot in the series: 11:24pm
Lens: 50mm standard lens
Aperture: F2.8
Exposure: 2 min

Exposure: 4 min
Exposure: 8 min
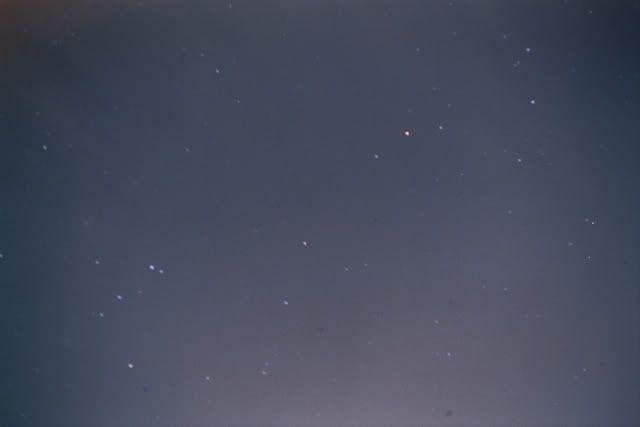
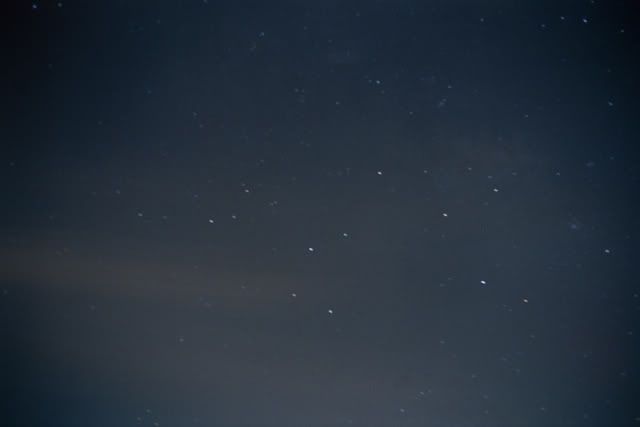
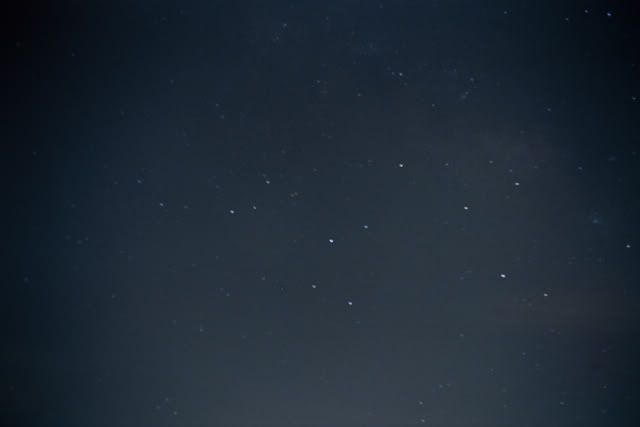
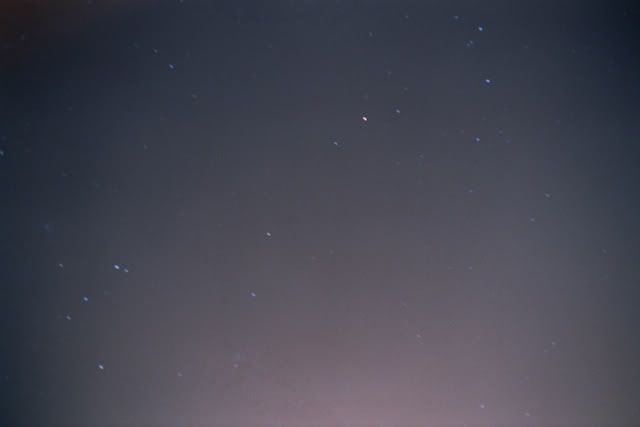
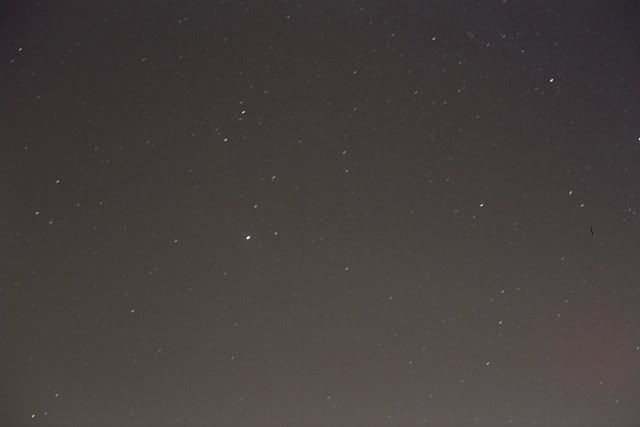
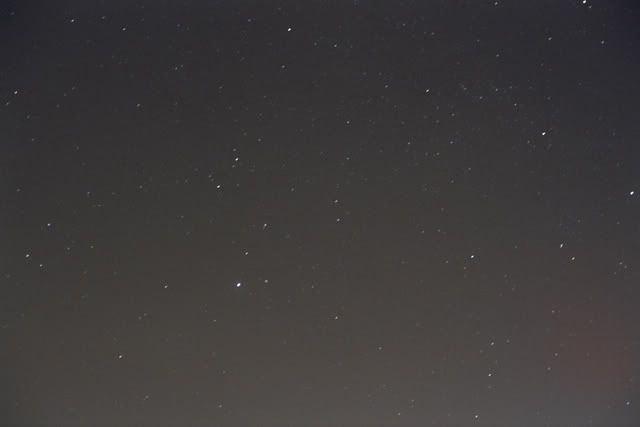
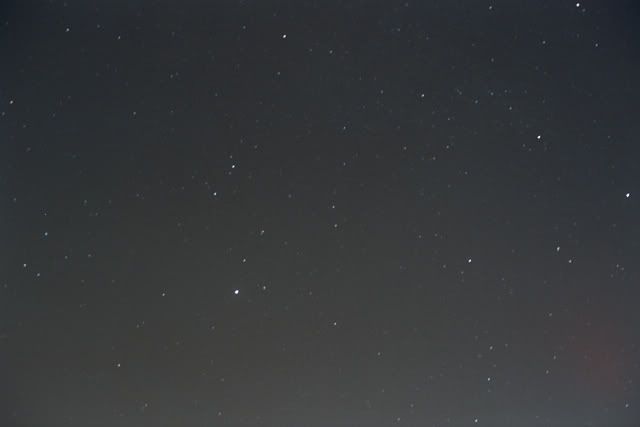
Cygnus (The Swan) and Lyra (The Harp)
The following shots were taken on another night.
Starting time for 1st shot in the series: 10:00pm
Lens: 50mm standard lens
Aperture: F1.9
Exposure: 13s? (Must be either poor documentation or accident again!)
Exposure: 4 min
Exposure: 8 min
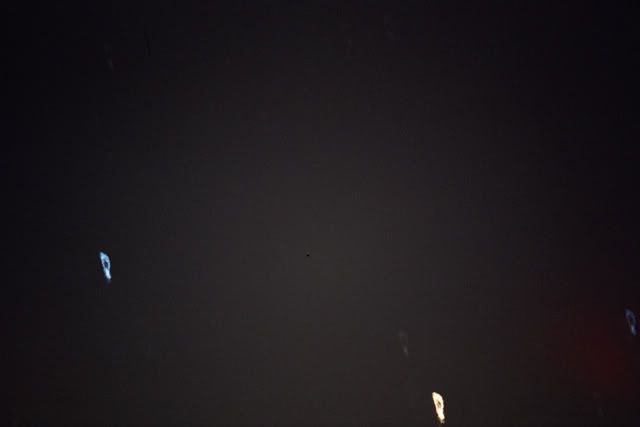
Close-up shots of Antares (Alpha Scorpii)
Starting time for 1st shot in the series: 10:31pm
Lens: 500mm mirror lens
Aperture: F8
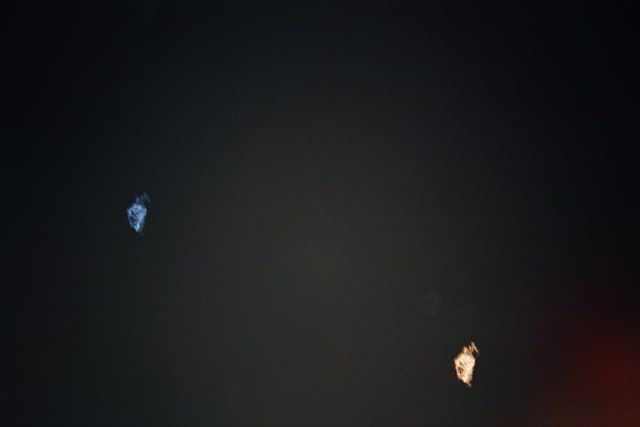
I am sure you will be puzzled by what the following photos are showing. They are not flashes of fires. They are close up shots of Antares (Alpha Scorpio, the brightest star in Scorpio) and another nearby star of Scorpio. The photos turned out to be smudges because of the high-power 500mm lens and the instability of the setup.
I accidentally discovered the shakes when I was looking into the camera's viewfinder to ensure that the stars were in view and focus. I noticed that even a minor vibration of the cable release sent the image shaking terribly. Although I knew the photos would most probably turn out bad, I went ahead to try. I was right! Looks like the setup is still not stable enough for high-magnification shots.
Exposure: 2 min
Exposure: 4 min
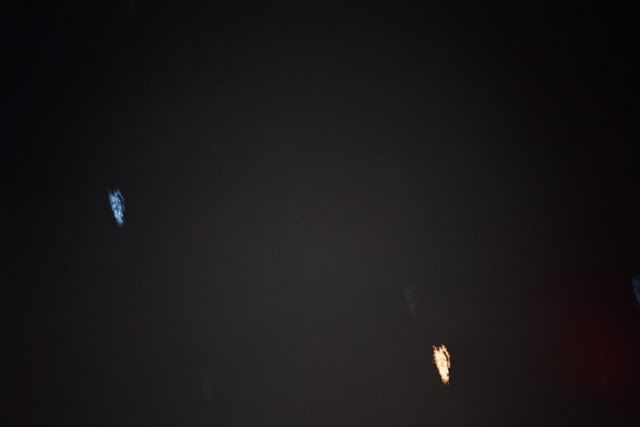
Exposure: 8 min
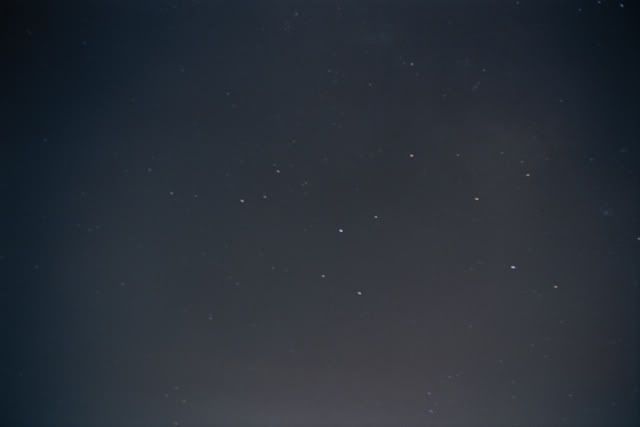
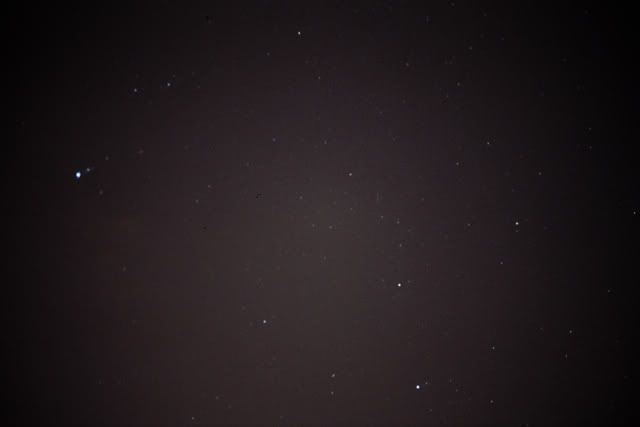
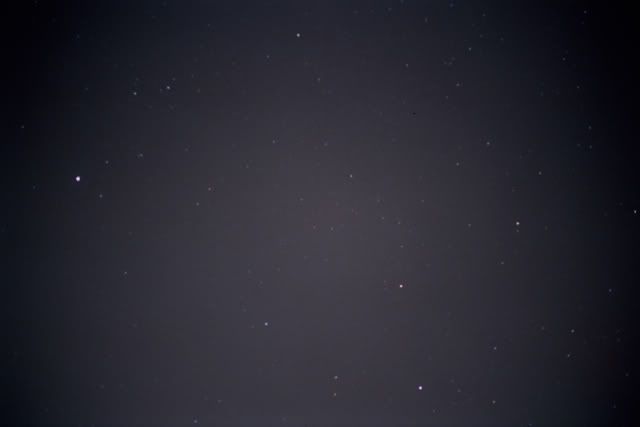
Cygnus (The Swan) and Lyra (The Harp) Part II
Lens: 50mm standard lens
Aperture: F1.9
Exposure: 1 min
Exposure: 2 min
Exposure: 4 min
Conclusion
Apart from the failed moon and Antares close-up shots, all other constellation shots turned out to be quite good. In fact, all of them showed little or no star trailing. This was much better than the photos in the first series (see http://astro.jconserv.net/viewtopic.php?t=57 ) where only a handful of shots out of the entire series turned out well. This shows that the 2nd version of the polar alignment system was really better.
The photos also showed less vignetting effects. This might be due to the lighting conditions at that time and probably the use of a faster film (ISO400).
All in all, the shots were great and the polar alignment system was effective. I will proceed to perform post-processing to the shots to enhance them and probably improve the tracker further.
posted by Starnamer @ 11:30 am
![]()
![]()

2 Comments:
At 8:19 pm, January 10, 2006, ...Vinay Bharadwaj said…
Hey Charles,
Vinay here. Amazing pics. YOU OWN A MAKINON 500MM REFLEX LENS?!?!?
That's amazing. By the way, why were there multiple reflections of moon in the moon pics?
At 10:05 pm, January 10, 2006, Starnamer said…
Thanks for your compliments. Yes. I got it as a 2nd-hand item from my ex-photography instructor at a cheap price of S$70. It is a mini catadioptric telescope. I think the moon reflections occurred due to internal reflections if you shoot a bright object positioning it near to the centre of the picture. Placing the moon at the exact centre might eliminate this effect.
Post a Comment
<< Home